December 2015
One thing I have learned during the course of this project is that the best way to make progress is to order timber. It arrives and you have to fit it. So I placed an order with Robbins Timber.
 Meanwhile.
To join the outer boards I will need to scarf them together. To do this I will try "complementary template routing".
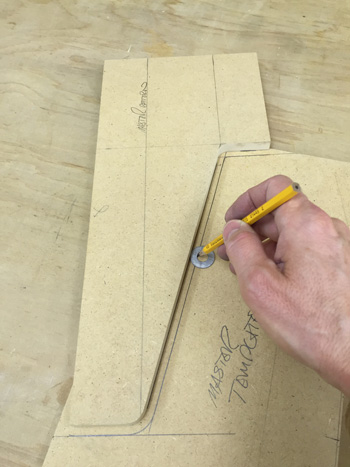
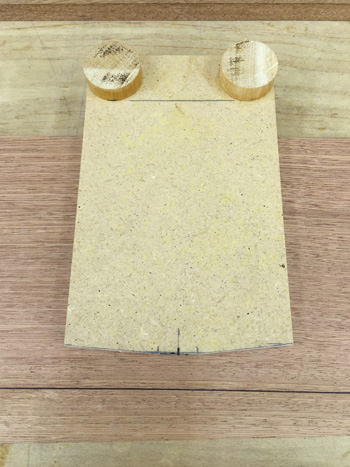
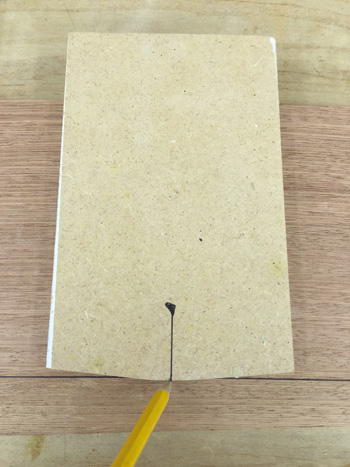
First off make the master pattern.
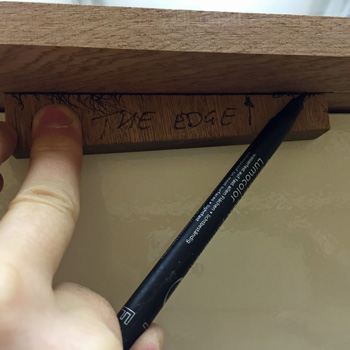
Then mark out the master template using a washer with 1/4" of material between ID and OD (the cutter diameter).
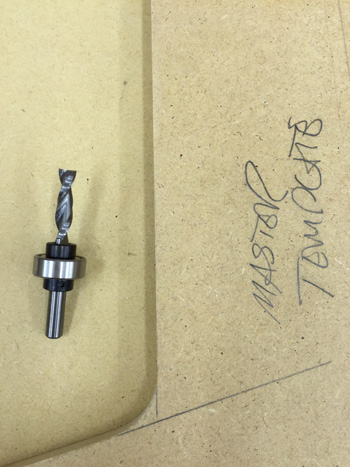 Then assemble your cutter with a 3/4" bearing.
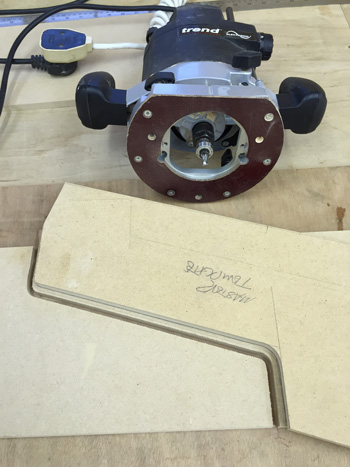 Router the RIGHT template and keep the offcut.
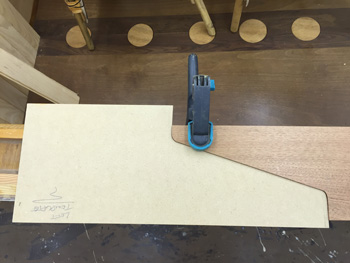
 Use the offcut from the right template to router the LEFT template, using the 1/4" cutter and the 3/4" bearing. Here are the two
complementary templates fitting perfectly.
Use the offcut from the right template to router the LEFT template, using the 1/4" cutter and the 3/4" bearing. Here are the two
complementary templates fitting perfectly.
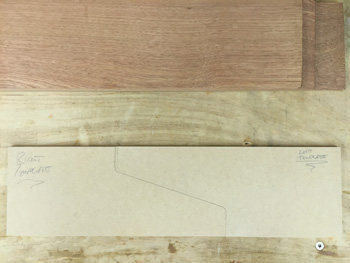
 All this preparation was done while I waited for the outer boards and king planks to arrive from
Robbins Timber.
All this preparation was done while I waited for the outer boards and king planks to arrive from
Robbins Timber.
Then the timber arrived, well wrapped and undamaged. I have chosen
Utile
as its cheaper than
Mahogany
and easier to work than
Sapele.
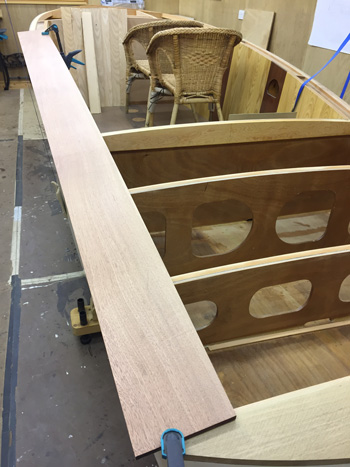
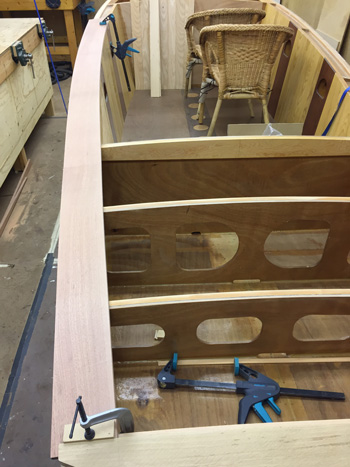
Here's a rear outer board offered up for a quick look see.
 Now for the first cut to mate with the transom board. One for the jig saw.
 Not a bad fit, if I say so myself, phew.
 Now to scribe the outer profile and give the outer board a 15mm overhang.
Then off to the band saw.
 With the outer shape done the inside profile needs marking. The cockpit side determines the width and this is easily transferred to the timber.
Then this jig is set to this width (the desired width of the plank) to mark of the rest of the plank.
 Turned over and the board is marked as so.
 And here's the finished board. Transom detail just need the corner radius and both the inner and outer profiles are complete.
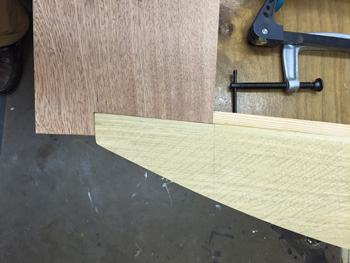
Scarf detail next.
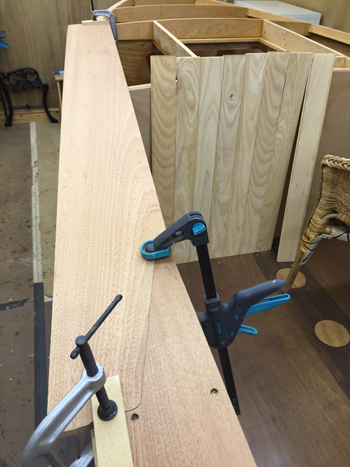
 Here I've cut the first half of the scarfing joint and offered up the left hand template as a check.
 Using the left hand template I've routered the next (mid) board to match. The joint is Ok but surprisingly not perfect. Or should I say as good a
fit as the two templates are to each other.
Using the left hand template I've routered the next (mid) board to match. The joint is Ok but surprisingly not perfect. Or should I say as good a
fit as the two templates are to each other.