February 2010
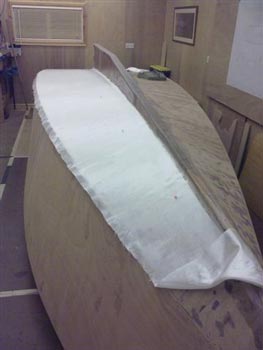 Finally I get a few consecutive evenings and sheathing can start. I decided to
go with the dry system, so down goes the first layer onto bare timber.
Finally I get a few consecutive evenings and sheathing can start. I decided to
go with the dry system, so down goes the first layer onto bare timber.
 On goes the epoxy. I
estimated
this would require about 800g. I poured out 4 pots
of 140g of resin so all I had to do each time I finished a pot was add the hardener
to the next one and carry on. the wetout was easy with this weight (127gsm) of fabric.
There were some bubbles that formed which I removed but which subsequently appeared when
the epoxy had cured. This is most frustrating and one of the downsides of dry sheathing.
On goes the epoxy. I
estimated
this would require about 800g. I poured out 4 pots
of 140g of resin so all I had to do each time I finished a pot was add the hardener
to the next one and carry on. the wetout was easy with this weight (127gsm) of fabric.
There were some bubbles that formed which I removed but which subsequently appeared when
the epoxy had cured. This is most frustrating and one of the downsides of dry sheathing.
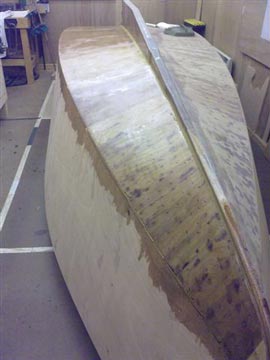
 Next day I layed out the second layer whilst the first layer had just enough tack to
prevent the second layer from sliding. This was then coated with epoxy. As the wood is
now sealed there were no bubbles. Then on went the peel ply, which I did in one piece.
Well, it's very difficult to do this single handed so next time I'll do it in sections.
Next day I layed out the second layer whilst the first layer had just enough tack to
prevent the second layer from sliding. This was then coated with epoxy. As the wood is
now sealed there were no bubbles. Then on went the peel ply, which I did in one piece.
Well, it's very difficult to do this single handed so next time I'll do it in sections.
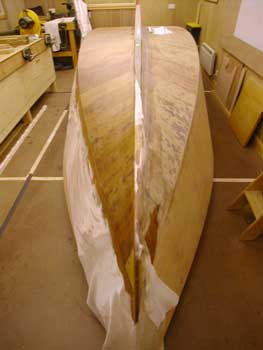
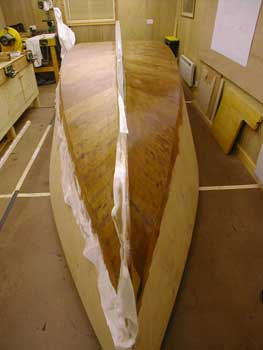 To try and avoid this bubbling issue I have pre-coated the other half of the hull. I
used a squeegee to spread the epoxy on the hull and it makes it go a lot further than I had
anticipated and the thickness is much more consistent than using a brush. Especially when it's cold
and the epoxy doesn't flow well.
To try and avoid this bubbling issue I have pre-coated the other half of the hull. I
used a squeegee to spread the epoxy on the hull and it makes it go a lot further than I had
anticipated and the thickness is much more consistent than using a brush. Especially when it's cold
and the epoxy doesn't flow well.
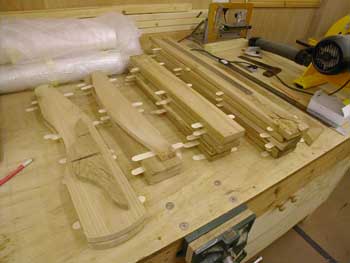 In the background the second Adirondack chair takes shape.