November 2015
 The only way I'm going to get this boat built is to order timber. Then I have to progress it...
So I headed to
WL West & Sons
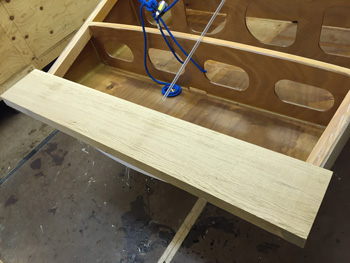
in Selham near Petworth where Sonia sorted me out a suitable piece of knot free Oak for the transom top.
 I got it home and immediately planed up the forward side and fitted it to the hull. I am now on a mission.
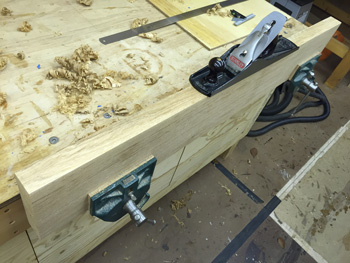
 I then made a soft wood copy so I could prove out my production method.
 It was apparent when cutting the 'proof of concept' piece that I needed a more suitable band saw blade.
So I purchased a 3 tpi 3/4" blade from Axminster Tools which is the best blade for ripping deep cuts.
It was apparent when cutting the 'proof of concept' piece that I needed a more suitable band saw blade.
So I purchased a 3 tpi 3/4" blade from Axminster Tools which is the best blade for ripping deep cuts.
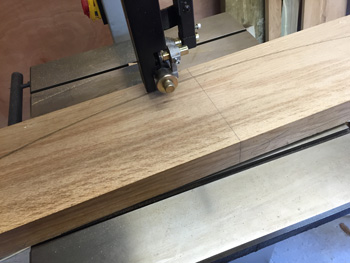 With the new blade installed and the blade tension to max for a 3/4" blade, the table at 11 degrees (should be 12 degrees
but I bottled it.... Easier to remove material that start again), I took a deep breathe and started to cut the top profile.
With the new blade installed and the blade tension to max for a 3/4" blade, the table at 11 degrees (should be 12 degrees
but I bottled it.... Easier to remove material that start again), I took a deep breathe and started to cut the top profile.
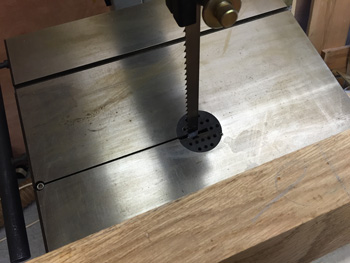
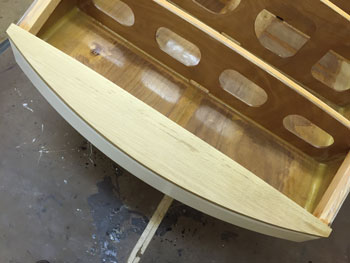
Then I transferred the transom profile to the wood and cut the plan profile as shown in this photograph.
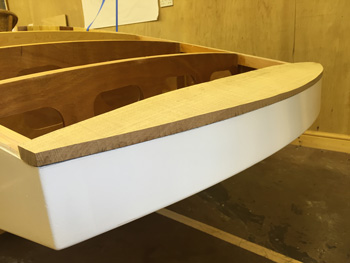 Here is the rough finished piece. Somewhat thicker by 3mm due to my generosity on the cut line on the port side, starboard side perfect.
As I said earlier, easier to remove more material than start again.
Here is the rough finished piece. Somewhat thicker by 3mm due to my generosity on the cut line on the port side, starboard side perfect.
As I said earlier, easier to remove more material than start again.
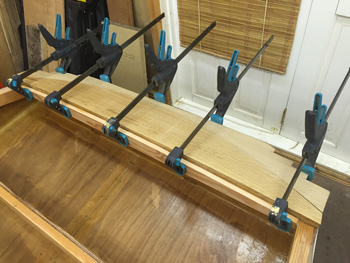
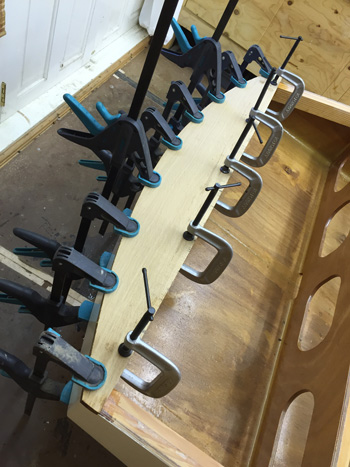 Once the timber was cut, internal stresses now released were causing some slight warping. So now was a good time to get the piece bonded in position.
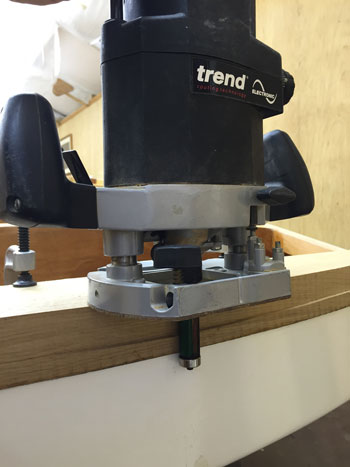 Using the off-cut upper section from the transom deck piece to get a level square to the transom I could then trim the deck piece to the ransom profile
using a router flush trimming bit.
Using the off-cut upper section from the transom deck piece to get a level square to the transom I could then trim the deck piece to the ransom profile
using a router flush trimming bit.
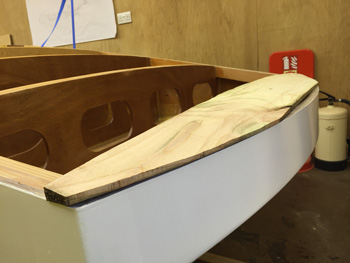
 And here is the result.
Subsequent to this I removed some of the surplus thickness with a belt sander. Leaving just enough for final sand once the deck boards are on.
 Next I added the rebate for the deck boards, taking the profile from the general deck profile.
So now I just need the deck boards.
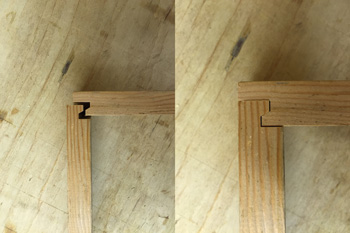 Meanwhile in anticipation of making the front hatch frame next month I purchased a drawer Lock router bit.
Here's my first attempt at using it.