October 2009
 I persevered with the peel ply technique for the forward section of the keel.
I have to say it creates more problems than it cures.
I persevered with the peel ply technique for the forward section of the keel.
I have to say it creates more problems than it cures.
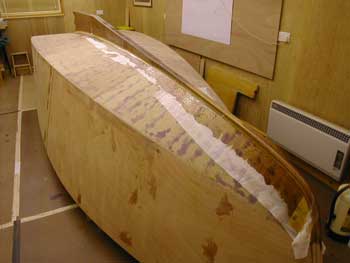
For the final middle keel section I tried a different approach. I used just
enough resin to wet out the fabric and only applied the peel ply to the hull section
below the fillet area. I could limit the resin quantity simply because I'm getting better
at wetting out the glass. The peel ply is there to mop up any excess resin on the hull
ensuring that the blend out is easier to deal with. This technique worked fine, no bubbles.
 Here's the first layer of glass sanded ready for the second layer to go down.
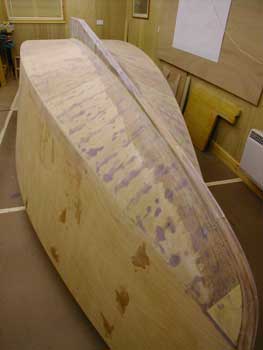
 This time instead of cutting the fabric for each side and overlapping on
the top, I've cut it to wrap both sides of the keel.
This time instead of cutting the fabric for each side and overlapping on
the top, I've cut it to wrap both sides of the keel.
Wetting out the glass requires a little more forethought. I epoxy'd the top surface and positioned
the fabric ensuring it was wetted through. Then I lifted the sides in turn and applied
epoxy to each the side of the keel before laying the fabric back down.
Then the usual frantic bubble busting ensued...
 Here's the final result. No bubbles other than those from the first layer
and a huge one on the prop upper scallop, Tsch tsch...
Here's the final result. No bubbles other than those from the first layer
and a huge one on the prop upper scallop, Tsch tsch...
Again I've used peel ply just below the fillet to mop up the excess epoxy. I
also scraped any excess epoxy from the cloth using a wooden mixing stick.
The result looks good, and negligible sanding will be required.
So I'll tidy this up in a few days time and prepare the rest of the hull for its sheathing.
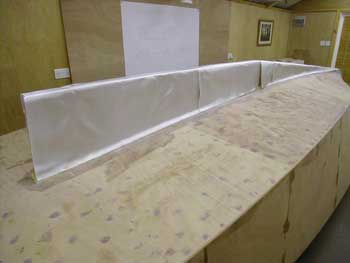
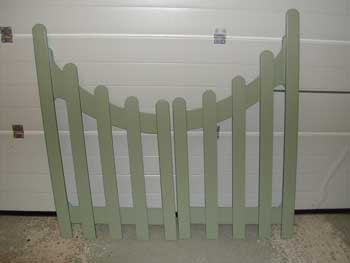 The only small distraction in the workshop this month has been to make these gates.
By the way that's not lens distortion, the right hand gate is taller than the left.
The installation is on a sloping site so the gate is taller by the bottom rather than the top.
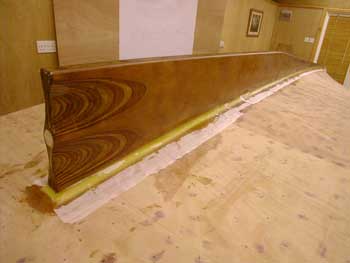
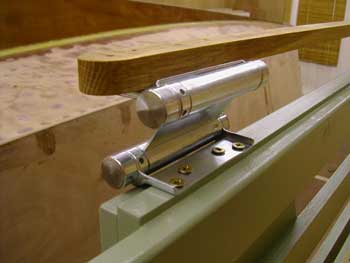 I've used double action spring hinges from
Door Furniture Direct
Shown here, attached to the hanging strip.
I've used double action spring hinges from
Door Furniture Direct
Shown here, attached to the hanging strip.